How to Take Real Estate Photos Like a Pro

In today’s competitive real estate market, a buyer’s first impression often comes from a photograph. First impressions happen fast, often in just a few seconds. That’s why knowing how to take real estate photos like a pro is one of the most valuable skills you can have as an agent, homeowner, or property manager.
In this blog, we will explore how to take real estate photos like a pro, even if you are just a starter, from preparation to post-production with 8 simple but necessary steps.
Why Professional-Looking Real Estate Photos Matter
Understanding why real estate photos are important in the first place is crucial before learning how to take them like a pro. Photos are typically the first thing prospective tenants or buyers see in real estate listings. Actually, the caliber of your photos may or may not influence their choice to continue exploring.
Professional-looking real estate photos don’t just look good; they serve a powerful marketing purpose. Specifically, they can:
- Instantly capture a viewer’s attention
- Increase click-through rates on property platforms
- Build trust and reflect professionalism
- Encourage faster sales or rental decisions
In short, strong visuals make your listings stand out in a crowded market. As a result, investing in high-quality photos is one of the smartest things you can do in real estate marketing.
How to Take Real Estate Photos Like a Pro (in 8 Simple Steps)
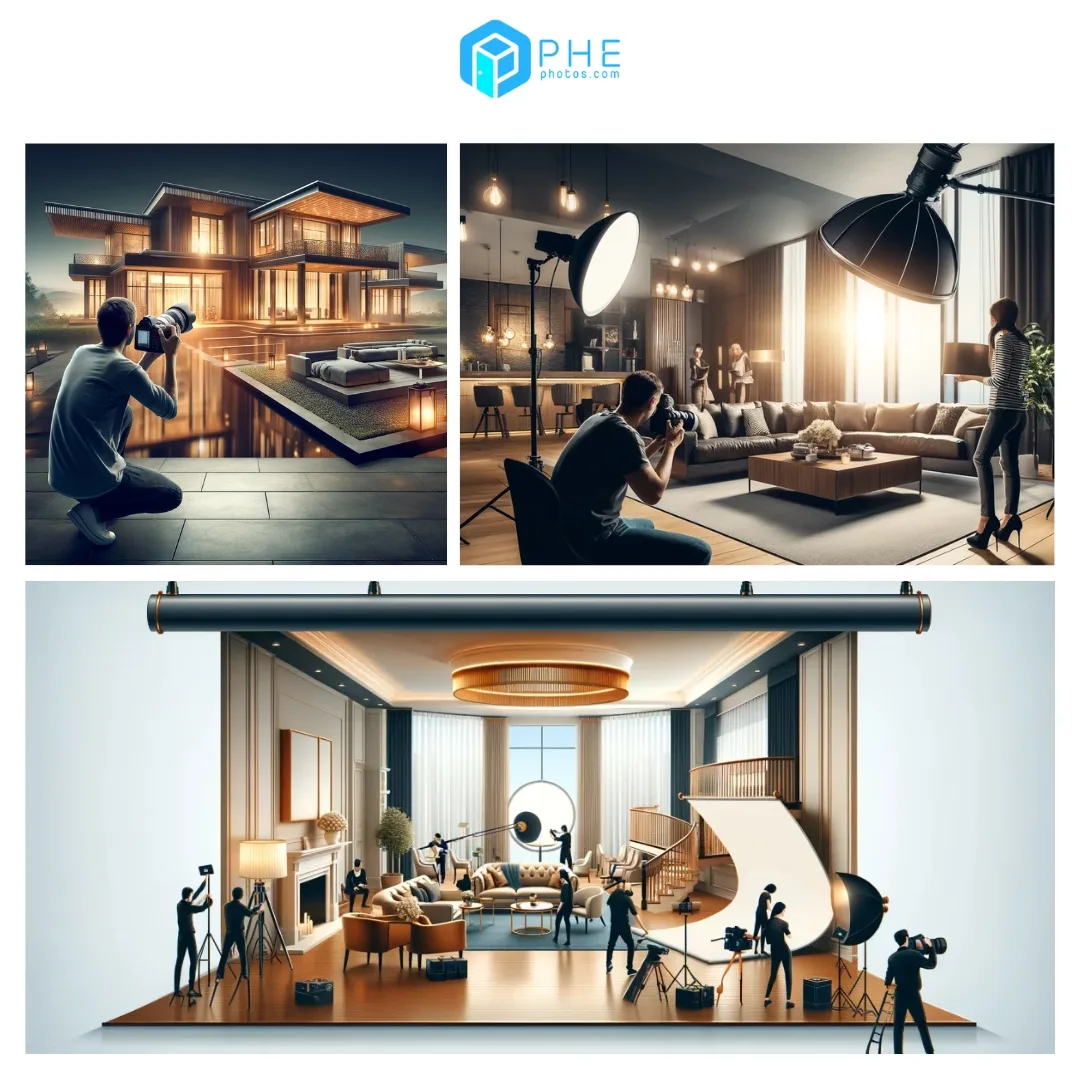
Creating eye-catching real estate photos doesn’t require a full production team, just the right tools, preparation, and a thoughtful approach. Here’s how to capture property photos that impress and convert.
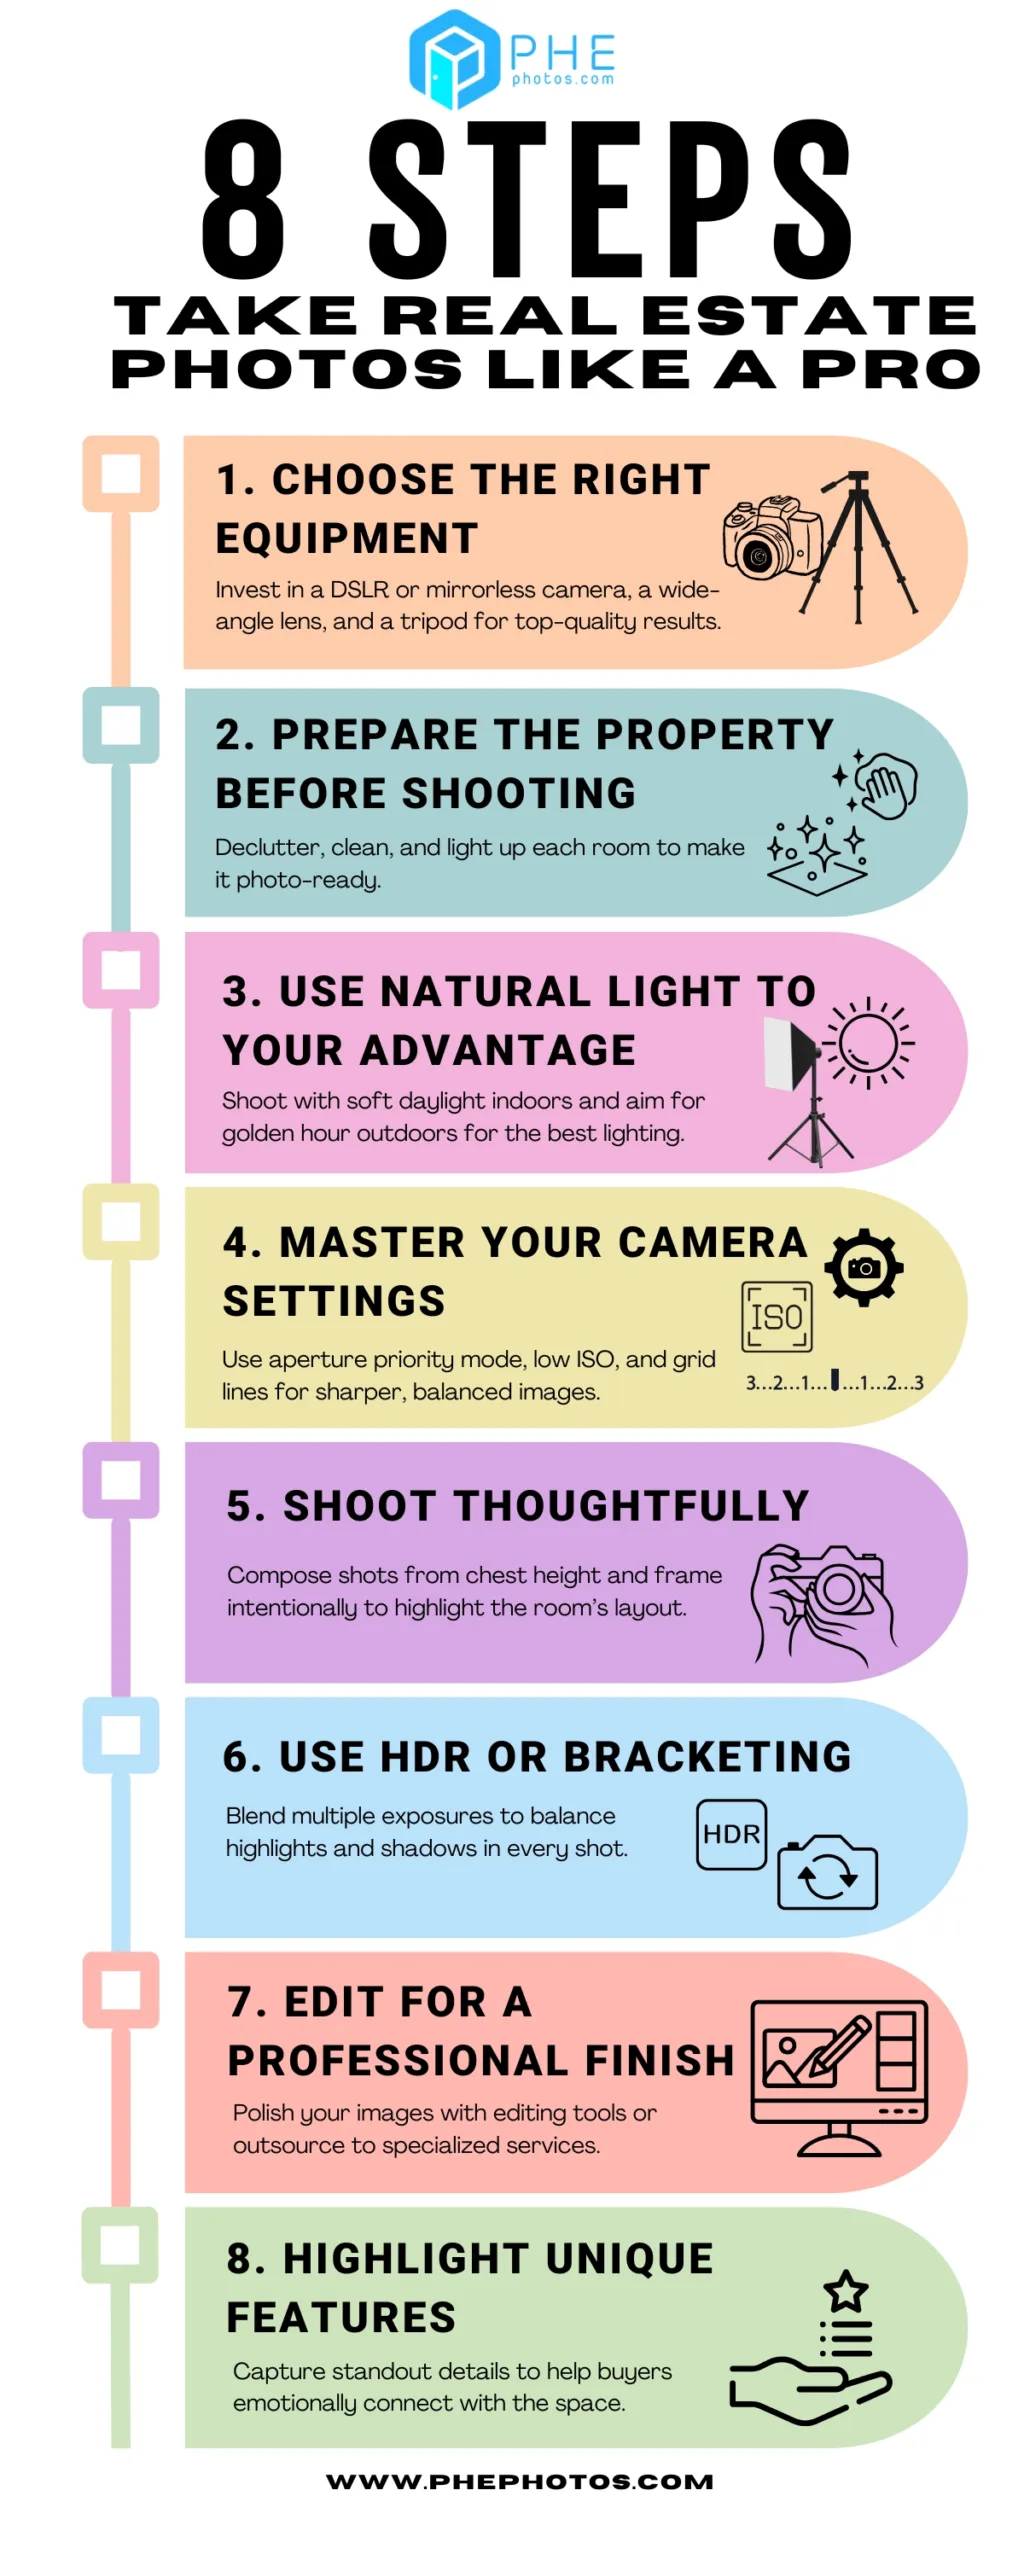
Step 1: Choose the Right Equipment
While smartphones are convenient, a DSLR or mirrorless camera with a wide-angle lens (16 – 35mm) gives you far better results. This lens helps showcase entire rooms, making spaces appear larger and more inviting.
Besides, a tripod is essential for sharp, level images and allows for slower shutter speeds without increasing ISO. Using the right equipment not only enhances image quality but also gives you better control for consistently polished results.
Step 2: Prepare the Property Before Shooting
A clean, staged space photographs better and sells better. Before you begin:
- Declutter every room
- Turn on all interior lights
- Open curtains to maximize daylight
- Hide cords, bins, and personal items
- Tidy up bedding and cushions
After prepping, walk through the space to spot the best angles and lighting. A few extra minutes of staging make a noticeable difference.
Step 3: Use Natural Light to Your Advantage
Light can truly make or break a real estate photo. For best results, shoot interiors during late morning or early afternoon, when natural daylight is soft and evenly spread. This timing not only minimizes harsh shadows but also helps rooms feel warm, vibrant, and naturally inviting.
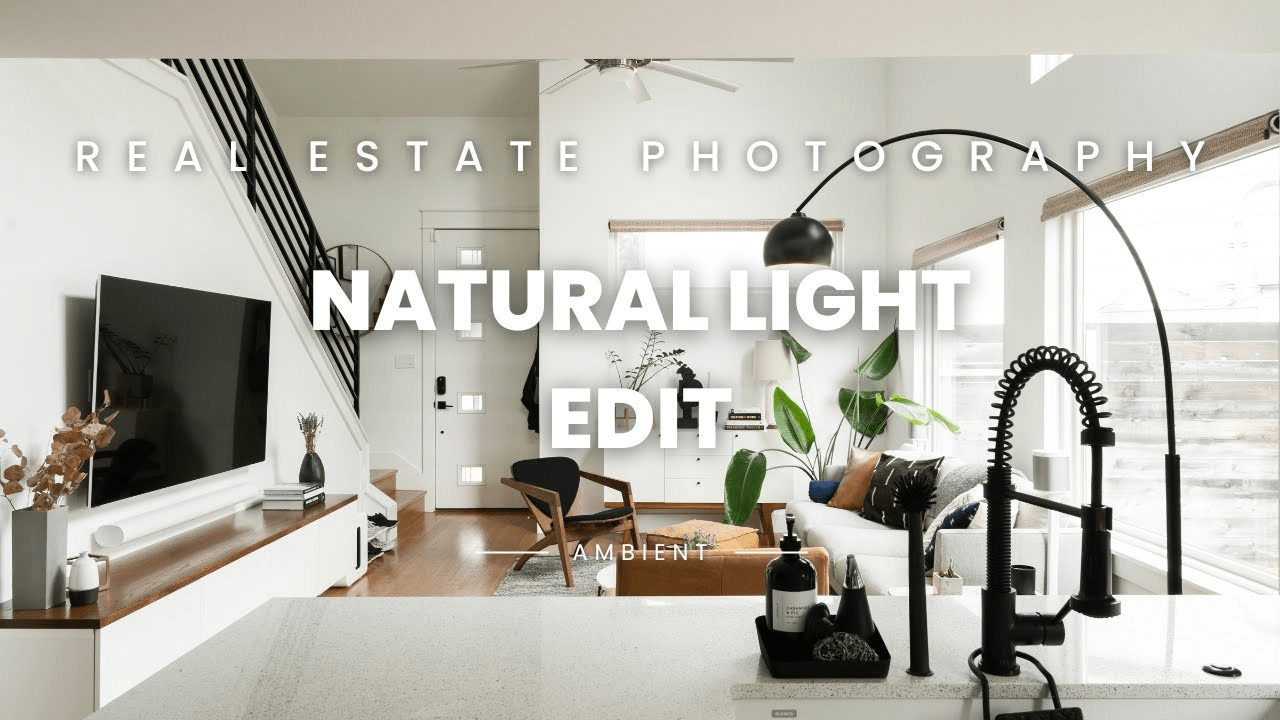
When capturing outdoor shots, aim for the golden hour, which occurs shortly after sunrise or just before sunset. The natural lighting during this time is warm, soft, and highly flattering. The warm, golden tones during this period enhance the property’s curb appeal, and more importantly, evoke an emotional response from potential buyers. In contrast to harsh midday light, golden hour creates a softer, more aspirational feel.
Step 4: Master Your Camera Settings
Instead of sticking with auto mode, switch to aperture priority (f/8–f/11) for sharper, more controlled shots. This helps keep the entire room in focus. Additionally, keep your ISO low, ideally 100-400, to reduce noise and preserve image clarity. Besides, enabling grid lines in your camera settings will help maintain straight verticals, which is crucial in architectural photography.

When it comes to white balance, auto mode usually works well, but manually adjusting it based on the light source can result in more accurate tones. Of course, transitioning to manual controls takes practice. However, the difference in photo quality is noticeable and well worth the effort, especially if you’re aiming for a polished, professional look.
Watch more: MASTER YOUR CAMERA in 15 mins: settings, dials, functions.
Step 5: Shoot Thoughtfully
Good composition helps buyers grasp the layout. Shoot from chest height (4–5 feet) and use corners or doorways to capture more of the room. Moreover, aim to include three walls and keep vertical lines straight for a clean, polished look.
Instead of snapping randomly, shoot with intention. Each image should highlight the room’s purpose and feel. In short, don’t just point and shoot so that every photo tells a story.
Step 6: Use HDR or Bracketing
Obviously, homes often have a mix of bright and dark areas. So, use HDR or exposure bracketing to balance the light by capturing multiple exposures and blending them in post-processing.

This helps avoid blown-out windows or dark corners and results in well-lit, true-to-life images. Most modern cameras and editing tools make this easy to execute.
Step 7: Edit Real Estate Photos for a Professional Finish
Even great photos need to be refined. You can take advantage of the popular software, such as Lightroom, Photoshop, or Luminar Neo, for several purposes:
- Straighten lines
- Adjust brightness and color balance
- Remove small distractions
- Sharpen and resize for web use
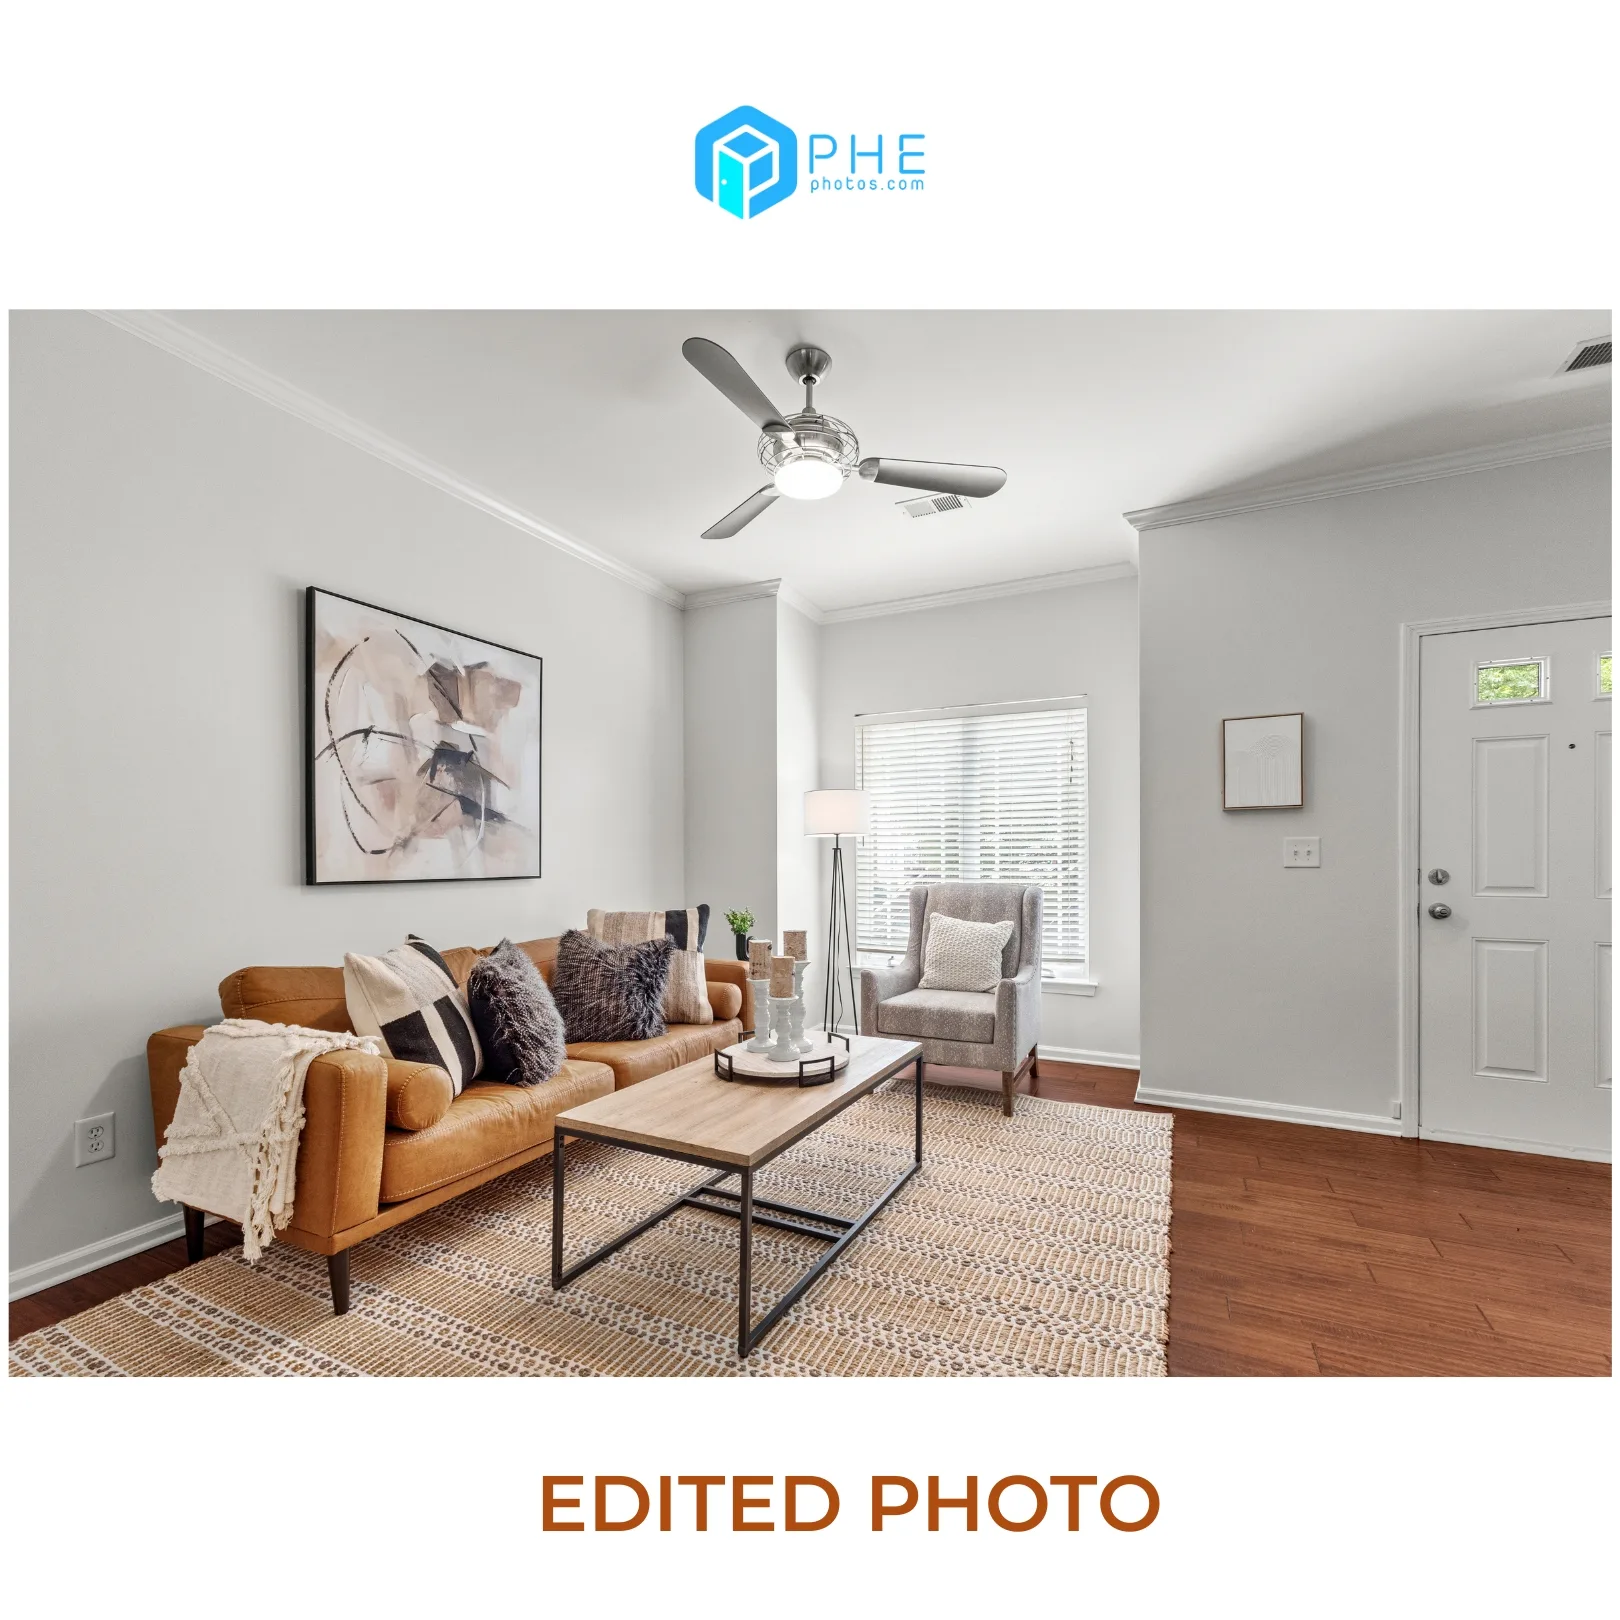
Outsourcing to services like Phephotos can help small and medium-sized enterprises to achieve fast and consistent results. Moreover, you can contact BoxBrownie for virtually staging rooms or BeatColor or Photoup for virtual twilight editing to simulate sunset lighting on exterior shots.
Step 8: Highlight Unique Features
Beyond room shots, include detail photos of standout features like a spa bathroom, statement lighting, built-in shelving, or scenic views. These close-ups help potential buyers emotionally connect with the space.
By combining wide shots and focused highlights, you tell a complete and visually compelling story of the property.
In Conclusion
Mastering real estate photography can significantly boost your property’s appeal and market performance. With the right gear, thoughtful staging, and smart editing, you can produce high-impact images that capture attention and build buyer confidence. Whether you’re shooting yourself or partnering with professionals, investing in quality visuals is one of the smartest moves in real estate marketing today.
Read more:
Why Professional Real Estate Photography Is Essential for Every Listing
Retouching Real Estate Photo Editing: 2025 Techniques That Sell Homes Faster
Real Estate Photography: Why It’s Important and How to Do It Well


