Real Estate Image Enhancement Mistakes to Avoid

You hire a photographer, maybe pay a bit extra for editing, and the photos still don’t pull the response you were hoping for. Fewer saves, fewer clicks, fewer people booking a showing. Before blaming the property, it’s worth taking another look at the photos themselves because a lot of listings quietly lose buyers over small, fixable mistakes in real estate image enhancement, not because of anything wrong with the house.
Some of these mistakes are easy to spot once you know what you’re looking for. Others fly under the radar for years, even for agents who edit their own photos. Here are seven of the most common ones worth checking for.
Mistake #1 in Real Estate Image Enhancement: Pushing Colors Too Far
It’s an easy trap. Drag the saturation slider up a bit, and suddenly the lawn is greener, the sky is bluer, and the wood floors look richer. It feels like an improvement in the moment.
But most buyers have scrolled through enough listings to recognize when a photo’s been pushed past what’s real. Once colors start looking more like a filtered Instagram post than an actual room, people quietly start wondering what else might be exaggerated. And that’s not the feeling you want someone walking away with before they’ve even booked a showing.
How to Fix It:
Keep colors close to what someone would actually see standing in the room. A slight lift in saturation is fine enough to make the photo feel fresh without tipping into “obviously edited” territory. If you find yourself second-guessing whether it’s too much, it usually is.
Mistake #2: Swapping in a Sky That Doesn’t Match the Rest of the Photo
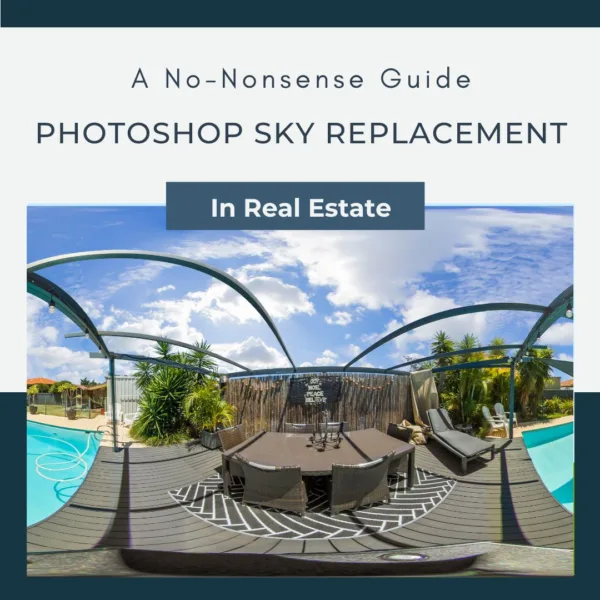
Sky replacement can genuinely rescue a gray, flat exterior shot, and there’s nothing wrong with using it. Where it goes wrong is when the new sky doesn’t line up with the lighting anywhere else in the photo, with shadows falling in one direction while the “sun” seems to be coming from somewhere else entirely.
Most buyers won’t be able to point to exactly what feels off, but they’ll notice something doesn’t add up. It’s a small thing, but it chips away at how much they trust the rest of the listing.
How to Fix It:
If you’re going to swap the sky, at least match it to the shadows already present in the shot. Or, when the weather cooperates, it’s often worth skipping the swap altogether and just shooting on a better day.
Mistake #3: Blowing Out Windows Instead of Balancing the Exposure
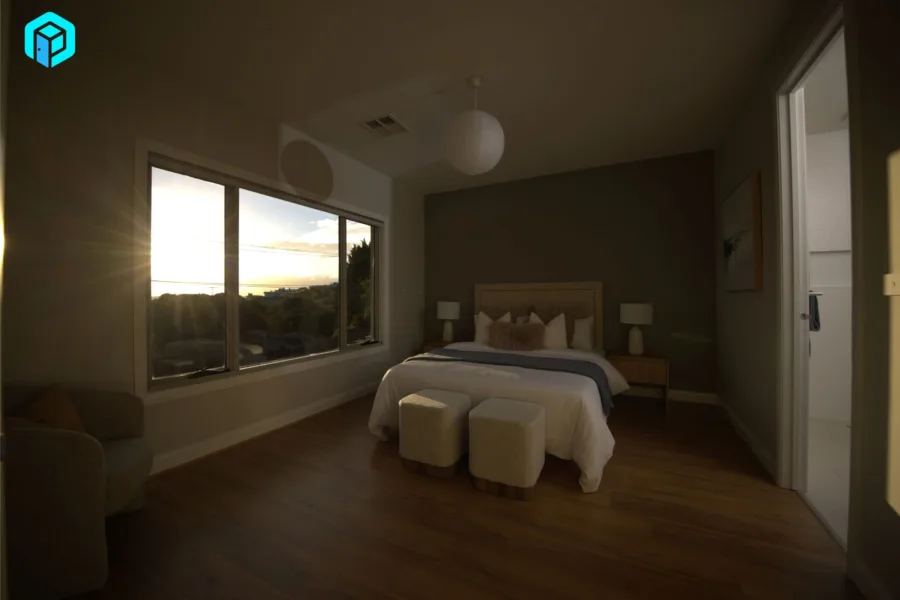
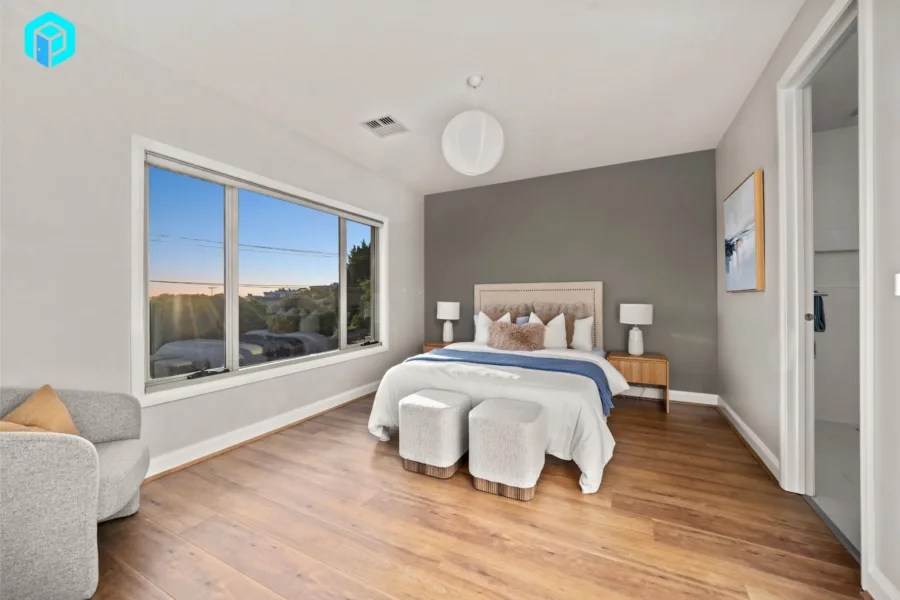
This one’s probably the most common technical slip in real estate photography and also one of the easiest to notice. The inside of the room looks fine, but every window is just a flat white rectangle: no yard, no trees, no sense of what’s actually outside.
It makes the whole space feel closed in, smaller than it really is. And if there’s a decent view or a nicely kept yard, that’s a selling point completely lost.
How to Fix It:
This is exactly the kind of problem HDR blending was built for: combining a few different exposures so both the room and the view outside come through properly. It takes more work than a single flat shot, but it’s usually the clearest sign of solid real estate image enhancement done right.
Mistake #4: Editing Out Real Flaws Instead of Just Improving the Photo
There’s a real line between making a photo look better and changing what’s actually in it. Smoothing over a cracked wall, erasing a water stain, or editing out visible damage is no longer enhancement, and it can create genuine problems, both legal and practical.
If a buyer shows up for a walkthrough and the property doesn’t match what they saw online, that’s more than a lost sale. Depending on local disclosure rules, it can turn into a real dispute.
How to Fix It:
Keep enhancement focused on lighting, color, and clarity, never on hiding the actual condition of the property. If something needs fixing, it should get fixed before the shoot, not erased afterward.
Mistake #5: Editing Every Photo in a Listing a Little Differently
Scroll through a listing where the kitchen looks warm and golden, the living room leans cool and blue, and the bedroom’s slightly overexposed compared to everything else. None of these photos look bad on their own. Put together, though, they feel like three different people edited them on three different days.
It’s an easy thing to miss when you’re working through photos one at a time, but buyers pick up on the mismatch even if they couldn’t say exactly why something feels off. It just reads as unpolished.
How to Fix It:
Settle on one editing style, one white balance, one brightness level, one overall mood, and carry them across every photo in the set. Consistency often does more for how professional a listing looks than any single standout photo.
Mistake #6: Virtual Staging That Doesn’t Quite Look Right
Virtual staging is genuinely useful for empty properties, it gives buyers a sense of scale and how a room might actually function. The trouble starts when the furniture sits at the wrong angle, the shadows don’t match the room’s real light source, or the proportions feel just slightly off.
Buyers who tour an empty property after seeing “furnished” photos online can end up feeling misled, even when that was never the intent.
How to Fix It:
Good virtual staging should match the room’s real perspective, lighting, and scale closely enough to hold up under a second look. If it doesn’t, it’s often better to just show the room empty and let the space do the talking.
Mistake #7 in Real Estate Image Enhancement: Letting AI Handle Everything Alone
AI tools have made batch editing incredibly fast. Upload fifty photos, hit a button, and get fifty edited images back a few minutes later. The catch is that AI doesn’t always get it right, and when it gets something wrong, that mistake tends to repeat across the whole batch instead of showing up just once.
Distorted reflections, odd artifacts around edges, a sky replacement that looks fine in one shot and completely wrong in the next these slip through when nobody actually looks at the output before it goes live.
How to Fix It:
Use AI for speed, but have a person review the final set before it’s published, especially the hero shots that show up first. A five-minute check can catch problems that would otherwise sit on a live listing for weeks.
Final Thoughts
None of these mistakes look dramatic on their own. A slightly oversaturated photo, a sky that doesn’t quite match, one room edited a shade differently than the rest- each one seems minor in isolation. But buyers move fast, comparing dozens of listings in a single sitting, and it doesn’t take much for a photo to quietly lose their attention.
Done well, real estate image enhancement builds trust before a buyer ever walks through the door. Done carelessly, it chips away at that trust one small mistake at a time. The best listing photos usually aren’t the most enhanced ones, they’re just the most honest.
Read more:
How to Build Client Trust with Real Estate Photo Editing
Best Camera for Real Estate Photography: 2026 Edition